To jailbreak iOS 14.0 to iOS 14.3 on all devices using Unc0ver Jailbreak, you first need to make sure the devices you are using have been backed up, and are compatible with the jailbreak. Apple has a known tendency of automatically updating iOS devices overnight, so make sure your device did not upgrade to the latest version while you were sleeping.
In iOS 14 Apple did introduce a new toggle to prevent downloading and installing updates automatically, but it’s disabled by default so if you’re not careful, your device will attempt to download and install the latest iOS version when it’s nighttime and it’s plugged in for charging.
What iOS versions are supported by Unc0ver Jailbreak on iOS 14?
The following iOS 14 builds can be jailbroken effectively with Unc0ver jailbreak, on all devices (including iPhone 11, iPhone 12, iPhone XS, XR, and XS Max):
- iOS 14.3
- iOS 14.2
- iOS 14.1
- iOS 14.0.1
- iOS 14.0
If you are running any of these versions OR their betas, you will be able to jailbreak with Unc0ver and have Cydia and tweaks in no time!
How to jailbreak iOS 14.0 to iOS 14.3 on All Devices using Unc0ver Jailbreak
In order to jailbreak your device with Unc0ver, please follow the steps below in order. You’ll be jailbroken in no time.
- Head over to the official Unc0ver website and download the IPA file for the jailbreak.
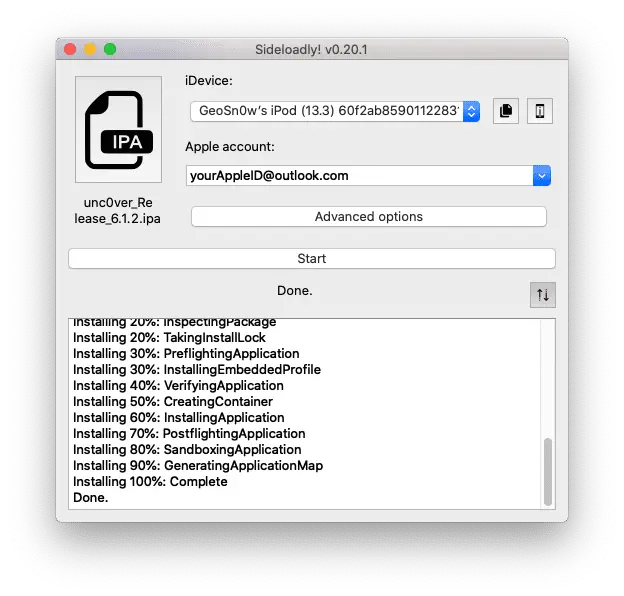
- Download and install Sideloadly from iOSGods (Sideloadly for Mac OR Sideloadly for Windows).
- Plug your iOS device in and make sure it’s unlocked. Make sure to Trust the computer if you get an alert on the phone.
- Open Sideloadly and drag and drop the Unc0ver IPA file into the “IPA” placeholder.
- Sideloadly will ask you to sign in with your Apple ID. Do it so that the IPA file can be signed. Your data is sent to Apple only.
- Press the “Start” button in Sideloadly and wait. You can toggle the log view if you wanna see what’s going on.
- When you see “Done” in Sideloadly, Unc0ver is installed! Move over to your device.

At this point, you no longer need the computer, but if you go on your phone, even though you have the Unc0ver app installed, you cannot open it just yet.
To be able to open Unc0ver you need to follow these quick steps:
- Open Settings on your device.
- Navigate to General
- Scroll all the way down to “Device Management” and tap it.
- You will see your Apple ID. Tap the email address.
- You will see “Unc0ver” and will have a blue text button that says “Trust <your email>”
- Press Trust.
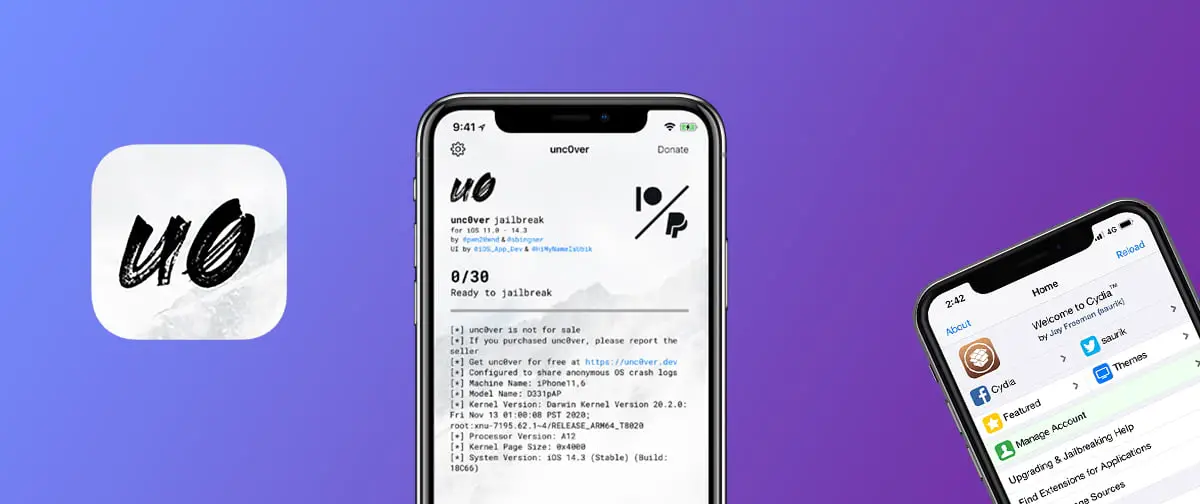
That’s all. You can now open Unc0ver jailbreak and press the big blue “Jailbreak” button.
IMPORTANT:
- The first-ever jailbreak you do with Unc0ver will require a reboot midway. The app will tell you when it needs to reboot. After the reboot, jailbreak again.
- You will need to redo the signing procedure every 7 days using Sideloadly or AltStore.
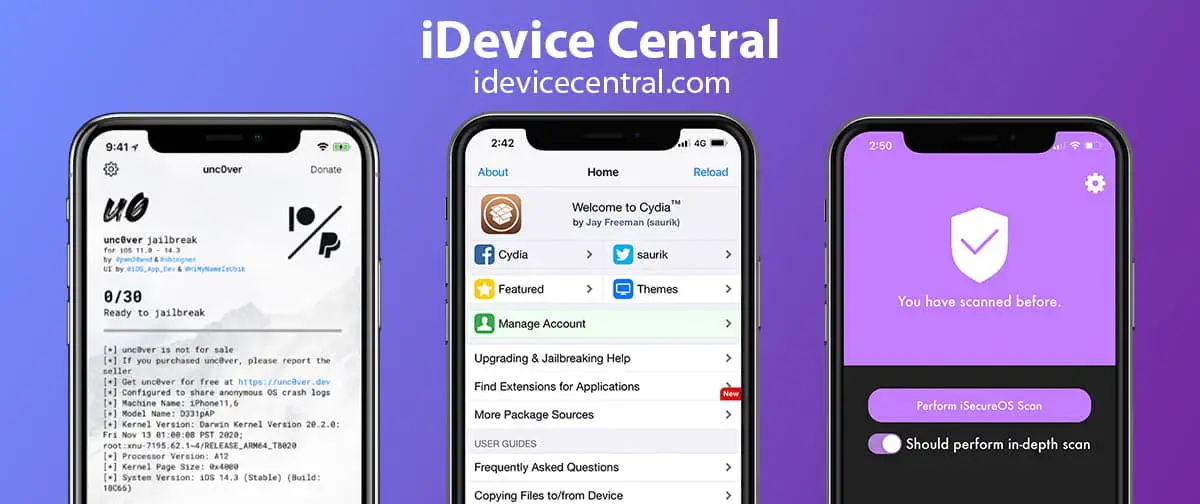
- After the jailbreak is complete, Cydia should be installed and you will be able to install any tweaks you want.
Can I jailbreak with Unc0ver without a computer?
Yes. Sometimes signing services like AppValley and TutuBox are signed and available. Those free services have Unc0ver already signed with an Enterprise Certificate which means you can install the jailbreak directly from Safari on your phone, no need for a computer.
Those signing services do tend to be revoked by Apple often, so you may not always have them working.
Here’s a full tutorial on how to use AppValley / TutuBox to get Unc0ver without a PC:
https://www.youtube.com/watch?v=3QioBjoBP3U
How to fix LOCKDOWN_E_INVALID_HOST_ID error in Sideloadly?
If you get the LOCKDOWN_E_INVALID_HOST_ID error in Sideloadly, or if it says “Syslog failed: Could not connect to lockdown: Invalid HostID (-21)”, it means that you didn’t trust the computer on the phone. If you’re on Windows, open iTunes and reconnect the device. When the “Trust this computer?” alert appears on the phone, press Trust. You may need to enter your passcode.
On Mac, if you’re using an older macOS and have iTunes, open iTunes and do as I mentioned above for Windows.
If you use macOS Catalina or newer, open Finder and connect the device. It will appear on the left sidebar as a connected device. Press on it and you will have a blue button that says “Trust this device”. Press the button and press Trust on your phone.
After this, disconnect and reconnect the device. It should now work in Sideloadly.
Is Unc0ver Jailbreak untethered?
No, the Unc0ver Jailbreak is a semi-untethered jailbreak, which means that every time you reboot your phone, you’ll need to re-load the jailbreak. Your tweaks will not be lost and you will not have to re-install the tweaks and themes, but you will have to open the Unc0ver application and press the “Jailbreak” button after every reboot.
Normally, your device boots to stock mode (non-jailbroken) after a reboot. By pressing the “Jailbreak” button in Unc0ver you trigger the Kernel Exploit and apply the jailbreak patches so that Cydia, Substitute (what makes tweaks work) and the tweaks would load.
After a few seconds, you’ll be back in the jailbroken mode with all your tweaks running the way you left them.
Note: For those of you who joined the Jailbreak community recently, untethered jailbreaks used to exist up until iOS 9 and they did not require re-jailbreaking at all. Your device would be already jailbroken the second it finished booting. Nowadays, those persistent jailbreaks are very rare because of the amounts of exploits needed to pull this off.

Is Unc0ver Jailbreak safe? Can I lose my warranty?
Unc0ver jailbreak is generally considered safe as long as you get it only from the official website linked above in this guide. The jailbreak itself can have some bugs from time to time, and users usually get updates when bugs are found.
The jailbreak itself is both safe and legal as long as you keep some good practices in mind. You should avoid getting tweaks from shady repos you don’t trust. Usually, the default repos that come with Cydia and Sileo after jailbreak are a good source of quality tweaks.
If you install some bad tweaks and things go south, you may be able to go in Unc0ver Settings and “Restore ROOT FS” which erases the jailbreak and all its components and tweaks from your device, basically bringing it back to the stock mode the way it was before you installed Unc0ver.
However, you have to be careful with what you install and, most importantly, what you modify in the system files. Deleting the wrong file or folder can result in a bootloop which means that your device will keep showing the Apple logo again and again without fully starting.
This is fixable, but it requires restoring the device in Finder on Mac or iTunes on Windows. In this case, you may or may not lose data that wasn’t backed up.
To avoid issues with your jailbreak, it’s best to avoid deleting system files with Filza, avoid tweaks from unknown sources and do your research before installing stuff.
Important: If you’re sending your device in for warranty service to the Apple Store, it’s best to un-jailbreak it first if you can. To do that, follow the procedure below. Apple won’t be able to tell.
How to uninstall Unc0ver Jailbreak if I don’t want it anymore?
If you no longer wanna be jailbroken, you can return the device to stock and remove every trace of the jailbreak, every tweak, every theme, etc. by following the steps below in order:
- Reboot the phone in non-jailbroken mode.
- Open Unc0ver app.
- Go to Unc0ver Settings (the gear icon at the top left corner).
- Toggle on the “Restore ROOTFS” and press “Done” at the top right corner.
- Press the big blue “Restore RootFS” button and wait. It will look like the normal jailbreak process.
- After the reboot, everything related to the jailbreak will be removed. NONE of your personal apps and data will be removed.
- You can now safely uninstall Unc0ver by holding the app icon and pressing “Delete App”.
You can re-jailbreak at any time if you change your mind in the future, but you will have to re-install all your tweaks again.
How to keep your jailbroken device secure?
While it’s pretty rare to get malware on iOS, if you’re jailbroken and you use the wrong tweaks from shady repos, you may end up with malware on your device. The MainRepo pirate repo recently came under fire for distributing malware on their pirated tweaks.
I’ve built a simple tool called iSecureOS which you install like any other tweak and it can search for known malware on the file system. I’ve put together an article on how to protect your jailbroken devices with iSecureOS, so definitely check it out.
iSecureOS is both free and open-source. Never pay for it and never get it from repos other than https://isecureos.idevicecentral.com/repo

Bonjour est ce que vous pouvez m aider à installer Phoenix sur mon iPad mini iOS 9.3.5
J ai essayé plusieurs méthode m ai J’arrive ! Pas