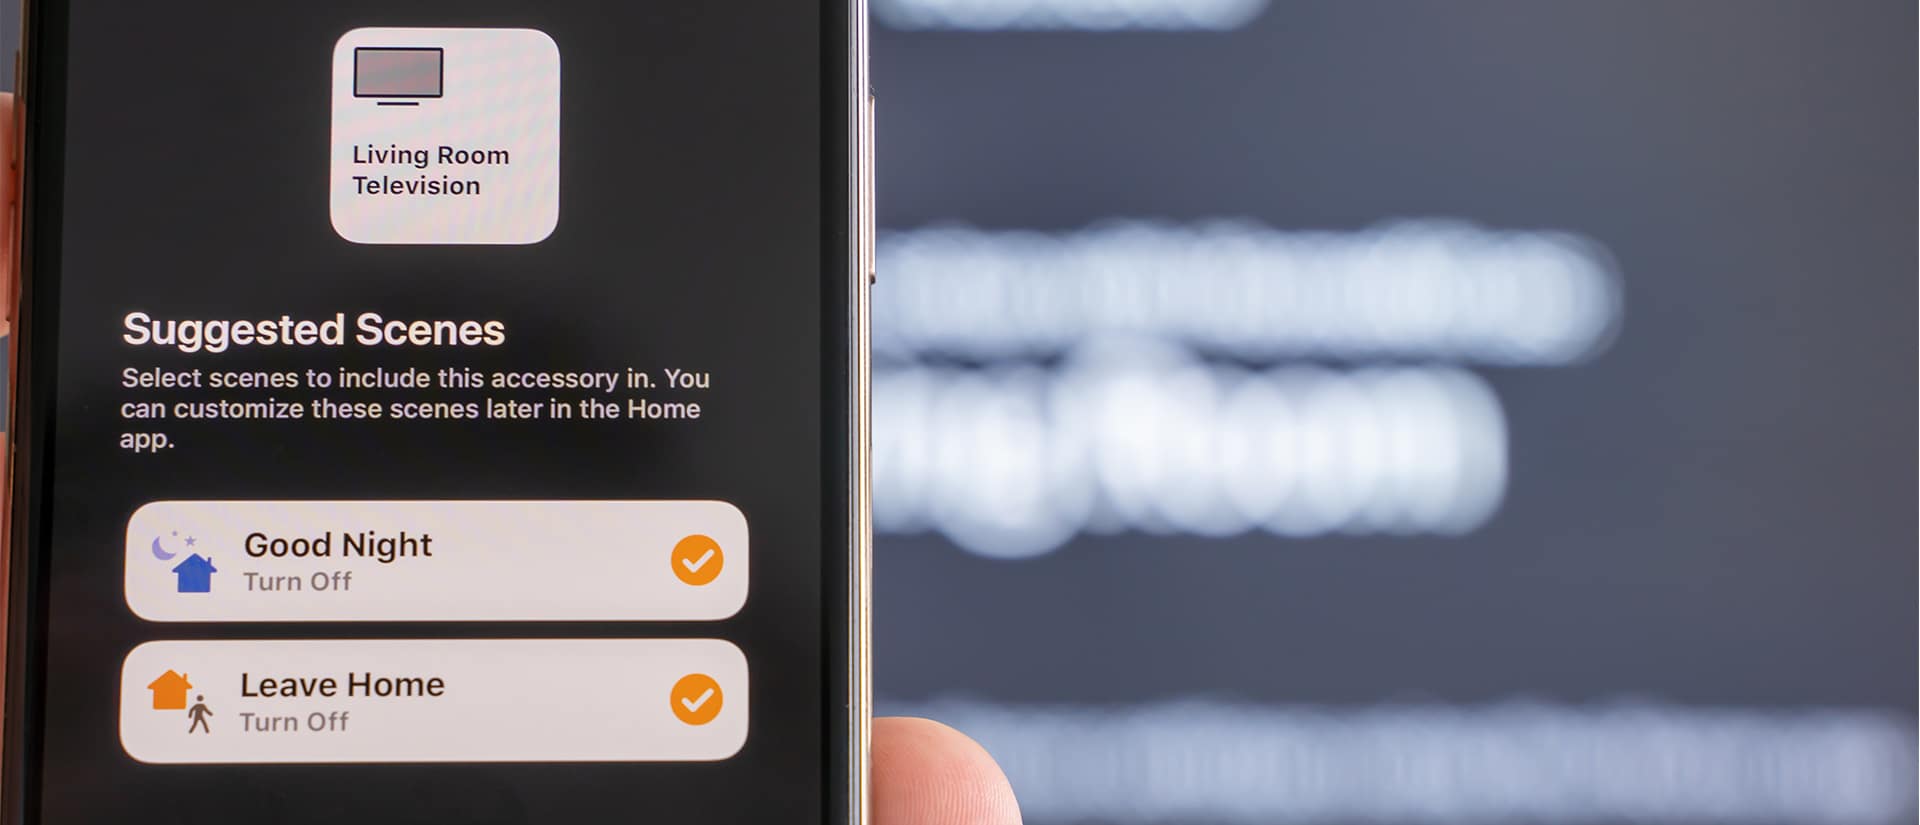
The Apple HomeKit is how you can use the internet of things to control and manage devices
around your home. If you are unfamiliar with how to get started with it, then don’t worry. After
reading through this guide, you will understand that setting up the Apple HomeKit is a
straightforward process and very easy to understand. By the end of it, you will learn how
electronics are interlined, can interact with each other, and can also be automated to save time
for yourself.
HomeKit – An Introduction
As you already know, this is a smart home platform designed by Apple to let you control and
manage internet-connected devices and appliances around your home. These devices can be TV,
thermostats, light bulbs, plugs, window blinds, etc.
By using your iPhone, iPad, Mac, or Siri voice commands, you can control the HomeKit-enabled
devices.
Let’s get started on setting up your Apple HomeKitt;
How to Connect HomeKit to Home Wi-Fi
The Apple HomeKit can connect to other smart devices in your home with the help of an
internet connection. If you don’t have internet, we recommend you get one.
You can go for Xfinity internet as it offers the capability to connect HomeKit to other appliances
and devices as well as allow you to perform other online activities without the data running out.
Dial the Xfinity phone number for more information.
Even if you are not receiving an active internet connection, you can still control and manage
through Apple HomeKit as long as the devices and appliances being managed are connected to
the same Wi-Fi network. This is useful in cases of internet blackouts.
HomeKit-Enabled Devices
Following are some of the devices that you can manage through Apple HomeKit:
- Air conditioners
- Thermostats
- Cameras
- Doorbells
- Door locks
- Fans
- Garage doors
- Humidifiers
- Air purifiers
- Lights
- Routers
- Outlets
- Sensors
- Speakers
- Sprinklers
- TVs
- Windows
If you have any of these devices set up in your home, then you can easily connect them to the
HomeKit and manage them as well.
How to Set Up Apple HomeKit?
All iOS devices i.e. iPhones, iPads, and Macs, have the Home app pre-installed. Open the app,
tap on Add Accessory button on the main screen of the app, and follow the steps to connect
smart devices to your HomeKit.
All HomeKit-enabled devices have a QR code on them, which you will be required to scan
through the camera. Scanning the device will add it to the HomeKit, after which you can start
organizing all your connected HomeKit devices.
You can connect all HomeKit-enabled devices through Bluetooth, Wi-Fi, or Ethernet cable. Now
you are ready to manage and control these devices through your iPhone, iPad, or Mac.
Set Up a Device as Home Hub
Even if you find the Home app in all of your iOS devices, there’s got to be one primary hub that
can control all devices while you are away from home, share control of devices with other users,
or automate your devices to do their scheduled tasks.
- Go to Settings, and tap on the name that is logged in to iCloud on the iPhone/iPad. Log
out if you want to use a different iCloud account. - On the next screen, tap on iCloud and scroll down to see if Home is turned on under
Apps Using iCloud. - Go to Settings, then Home and turn on the option; Use this iPhone as a Home
Hub or Use this iPad as a Home Hub.
This iPhone or iPad must remain at home, powered on and charged, and connected to the home
Wi-Fi network.
How to Control HomeKit Devices?
There are a number of ways through which you can control your HomeKit-compatible devices.
You can do so manually through the Home app. Each of your HomeKit-enabled devices may
have an app that you can download from the App Store.
There are also button devices that can serve as remotes to control the HomeKit devices
physically, including buttons to turn on the lights in your room.
You can use Siri voice commands as well, on iPhone, iPad, Mac, Apple Watch, and Apple TV to
carry out the tasks assigned.
Are Security and Privacy a Concern?
Finally, with all of their devices connected to one system, anyone would naturally wonder
whether security and privacy should be a concern. However, Apple states that these are taken
when seriously when manufacturing all Apple-compatible devices. All of these devices are
designed to follow Apple’s security guidelines to ensure that they are safe from hackers.
All HomeKit-enabled devices use the same security features i.e. end-to-end encryption, two-way
authentication, etc. Your HomeKit-compatible camera sends audio and visual data directly to
iOS devices and this is encrypted with randomly generated keys so that it cannot be intercepted.
That is not to say that HomeKit doesn’t have any bugs or errors. There are flaws where the
security of data gets compromised. But that is why you need to constantly update your Apple
devices so that these devices can have the latest security features.
Final Thoughts
There you have it! Everything you needed to know about using HomeKit and its compatible
devices are summed up in this guide.
Credits:
Photo by Patrick Campanale on Unsplash
NOTICE: This article contains links that are part of paid product placement / advertising.
