
Introduction
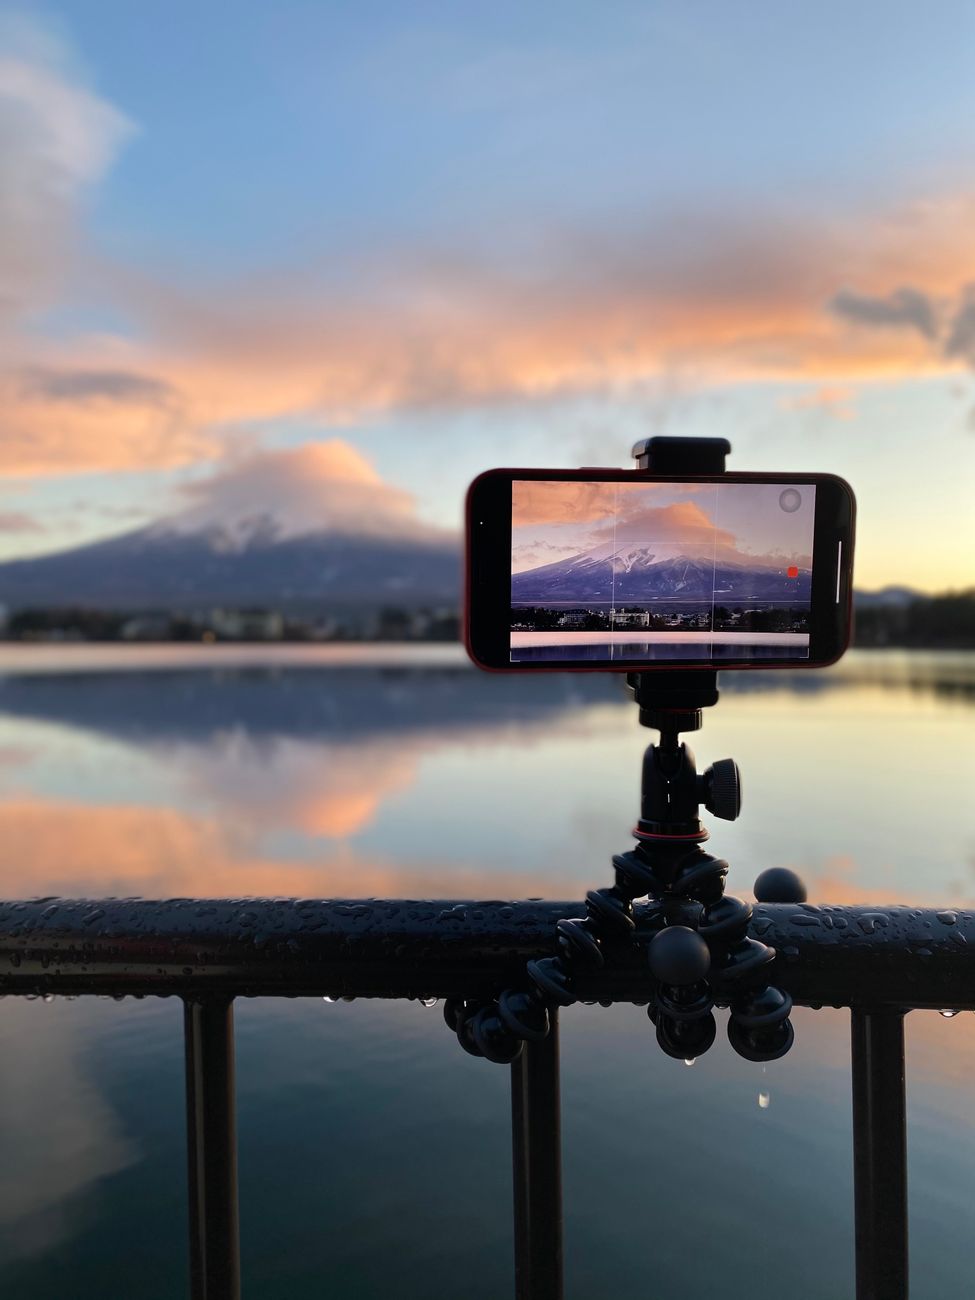
One of the biggest issues that iPhone users face is recording videos in low light. Usually, night videos from even the newest iPhone models are so grainy, blurry and lacking details that you don’t want to watch them again.
Trying out different ways, we came to realize that introducing a few simple steps can enhance the video quality. Improved lighting, steady filming and the proper camera settings in many cases cause a substantial improvement.
If a video has already been recorded, AI software can restore the quality. For example, I used Vmake to make dark footage look brighter and cleaner.
In this guide, I will share the tips and fixes that worked best for me when shooting iPhone videos in low light.
Why iPhone Videos Look Bad in Low Light
Problems | What it looks like | Why it happens |
Digital noise and grain | Random dots or grain in dark areas | The camera boosts the signal to brighten the video, which adds noise |
Motion blur | Moving objects look blurry or smeared | The camera uses slower shutter speed to capture more light |
Loss of shadow detail | Dark areas look flat and unclear | Not enough light reaches the sensor in dark spots |
Reduced color accuracy | Colors look dull or slightly off | Low light makes it hard for the sensor to capture true colors |
Autofocus hunting | Focus keeps changing in dark scenes | The camera struggles to find clear details in low light |
Low-light video is a challenge to capture as the camera is hardly getting any light. The sensor is unable to capture clear details under such circumstances. To overcome this, the camera boosts the brightness which typically adds noise and the loss of sharpness.
How to Improve Low-Light iPhone Videos
Clean Your iPhone Camera Lens First
A clean lens is very important especially in low light. Fingerprints and dust not only can create haze and light bloom but also make night videos soft and unclear.
So before recording, I cleaned the lens and it was like I’ll get an instant clarity of image. Just a quick wipe with a microfiber cloth before recording can boost quality. It is a small step, but very often it will give you a noticeable difference.
Use More Available Light Whenever Possible
Extra lighting, even a bit, greatly enhances a low-light video. I experimented with positioning myself next to streetlights, lamps, and shop signs. These lighting sources help a camera in collecting more details.
As a rule, it is better to have a subject with the light on their face. The iPhone camera, after all, benefit greatly from a small improvement in light.
Avoid Excessive Digital Zoom
Digital zoom only makes low-light video quality even worse. It can bring out the noise, but it will also sacrifice the details in the frame.
To avoid zooming, I simply moved towards the subject. On some occasions, optical zoom can be of some help; however, it will still produce very faint images in very dark scenes.
Lock Focus and Exposure Before Recording
To keep focus and exposure settings unchanged during recording, just tap and hold on the screen to enable AE/AF Lock. Otherwise, your camera will keep making adjustments.
I did this when filming, and the video was far more stable. Also, it comes in handy during concerts, city shots, or night walks.
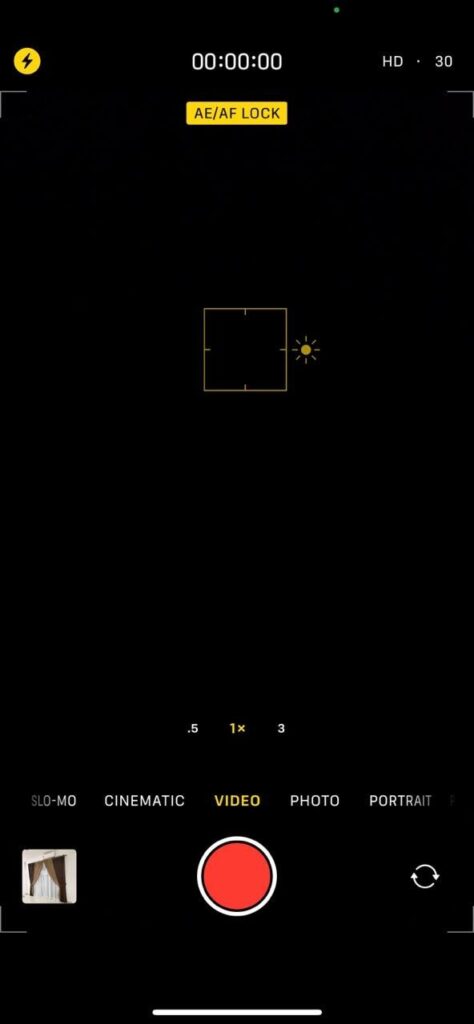
Shoot at 24fps or 30fps Instead of Higher Frame Rates
Going for higher frame rates like 60fps means that you are getting less light in each frame. So, the result of your night video could be grainier.
I set 24 fps, and I found the video brighter and better balanced. 24fps offers good light capture whereas 30fps is nicer in terms of smooth motion retention. It’s a matter of choosing between smooth motion and improved brightness, and the lower fps is more suitable for low-light situations.
Reduce Fast Camera Movements
Fast movements add to the deterioration of low-light video. Quick turns result in more blur and unsteady frames.
When I tried slowly moving the camera, the outcome was way cleaner. Using two hands, the shot also felt much steadier. A tripod or a gimbal is small enough and helpful for shooting night videos.
Enable HDR Video When Appropriate
When I was shooting near streetlights and neon signs with HDR, the images were much clearer.
Basically, the more different the level of light in the scene, the better this feature will work. However, it is known to consume battery and storage, so the feature is not necessary all the time.
Record in ProRes (If supported)
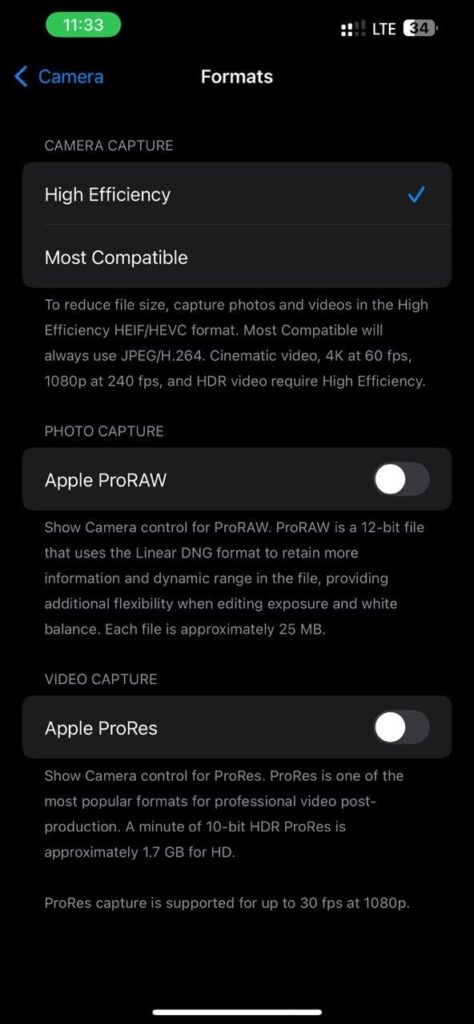
ProRes is very efficient in preserving most image details in comparison to regular video file types. I have done some tests on my Pro iPhone, and it turned out that the media was more comfortable to work on afterward.
The downside is that it takes up a lot of storage space. It is only available on iPhone 13 Pro and newer Pro models.
Use External Lighting for Content Creation
Adding external lights can be a game changer for recording videos in poor lighting conditions. I experimented with a mini LED light, and the result was obvious. Ring lights, LED panels, and pocket creator lights are popular choices that can brighten the subject and minimize video grain.
Enhance Low-Light Footage Using AI Video Processing
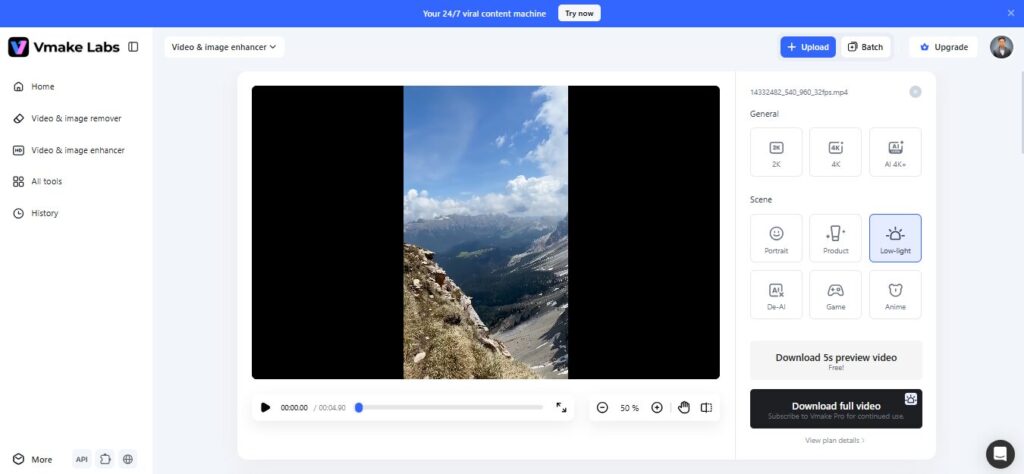
Despite my attempts at using various filming techniques to resolve the issue, low-light footage still requires additional modifications in editing. I tried Vmake AI Video Enhancer. The tool has done a remarkable job. All I did was upload the video by dragging it or clicking, then the tool took care of everything automatically. It even gives you the option to select different models like 2K, 4K, or AI 4K+, based on how much enhancement you want. The AI 4K+ feature reconstructed details in a very natural manner so the video appeared sharper devoid of any artificial or “over-smoothed” kind of effect.
However, the thing that appealed to me the most was the scene-based modes. I experimented with Low-Light Mode, and it reduced noise and restored shadow details.
There are also special modes for product videos, gameplay, anime, and AI-generated clips, which makes it useful for many types of content.
Upscaling iPhone Videos for Social Media and Larger Screens
Upon recording and doing some main edits, I realized that iPhone videos could still look somewhat blurry, especially when projected on a large screen or shared on social media.
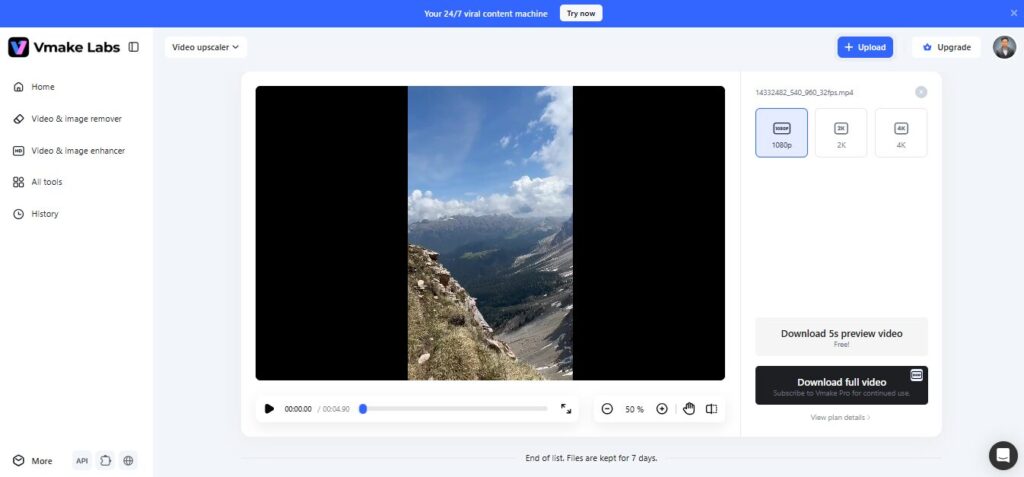
Curious to check if Vmake AI Video Upscaler can actually enhance the videos, I found it to be very effective. I just uploaded the clip, chose a quality level such as 1080P, 2K, or 4K, and the program automatically did everything else. It does more than enlarge the footage. It actually regenerates the lost pixels to make the edges look very sharp and the textures really clear and natural.
Conclusion
Low-light iPhone videos are a problem. Most of the time the videos turned out noisy, fuzzy, and too dark. After testing various methods, minor changes such as lens cleaning, using natural light, no zoom, and focus lock made quite a noticeable difference during filming.
I also tried using tools like Vmake AI Video Enhancer and Upscaler after shooting. They helped reduce noise, improve brightness, and sharpen details in a simple way.
All in all, good filming techniques together with AI tools resulted in much cleaner and brighter videos that not only looked good on social media but also on bigger screens.
More iDevice Central Guides
- iOS 17 Jailbreak RELEASED! How to Jailbreak iOS 17 with PaleRa1n
- How to Jailbreak iOS 18.0 – iOS 18.2.1 / iOS 18.3 With Tweaks
- Download iRemovalRa1n Jailbreak (CheckRa1n for Windows)
- Dopamine Jailbreak (Fugu15 Max) Release Is Coming Soon for iOS 15.0 – 15.4.1 A12+
- Cowabunga Lite For iOS 16.2 – 16.4 Released in Beta! Install Tweaks and Themes Without Jailbreak
- Fugu15 Max Jailbreak: All Confirmed Working Rootless Tweaks List
- iOS 14.0 – 16.1.2 – All MacDirtyCow Tools IPAs
- iOS Jailbreak Tools for All iOS Versions


